
Raspberry Pi
Everybody’s favorite DIY Homelab platform
This is going to be awesome. You’re going to love it. We’re going to do some cool things with some Raspberry Pi 5’s.
You’re probably here because you already know about all the low-cost greatness of Raspberry Pi, so we’ll jump right into it.
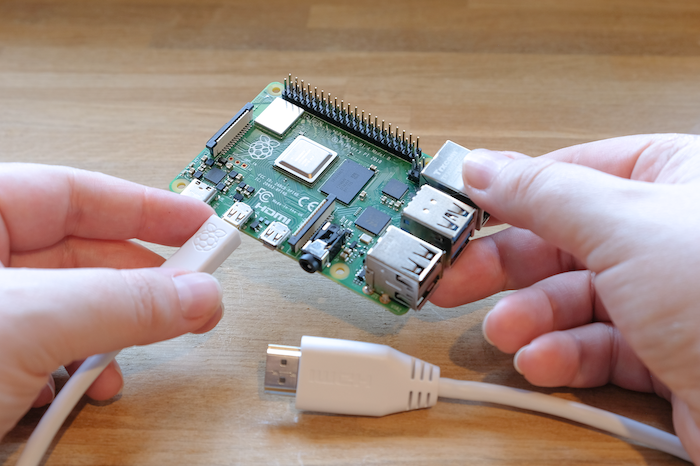
First use the official docs from Raspberry Pi to assemble the hardware. Then this guide will lead you through the initial configurations of your Raspberry Pi machines. If you’ll be using the Radxa Penta Hat like we do, use their docs: Radxa.
Headless
No monitor, keyboard or mouse required!
This guide does not require the Raspberry Pi to be hooked up to any peripheral device.
Only a network connection is needed.
Pages
Initialize
How to go from assembled hardware to first boot, plus setting up SSH.
PCIe Boot NVMe
How to boot the Raspberry Pi 5 from an NVMe SSD (rather than a microSD card) using the board’s PCIe interface.
Extras
Lots of goodies here.
- Remote Desktop – full usage of a Pi from another machine
- RAID – for server applications (yes a Raspberry Pi can make a fantastic home server!)
- Python – there’s some special considerations when using Python on a Debian OS.
- VScode – a fix for the dreaded slowness on Pis.
What we’ll do
- Walk through installing an OS and booting up.
- Optionally booting from an NVMe SSD connected via the PCIe interface.
- Give your machine a static IP.
- Enable and setup SSH.
- Setup a remote desktop connection.
- Configure software RAID.
- Give some notes about using Python and VScode on a Raspberry Pi.
What you’ll need
You will need
- A Raspberry Pi
- Another computer (e.g. laptop)
- connected to your network
- can install Raspberry Pi Imager
- can connect a microSD card
This guide covers how to setup a Raspberry Pi 5 as a development machine, and as a server (specifically, an HTML & Git server, but those are in other sections). We don’t distinguish in the guide which section is for which machine, since there’s so much overlap, but, to let you know specifically which hardware we’re talking about:
Development Machine:
- Raspberry Pi 5, 16Gb
- Raspberry Pi M.2 HAT+ with a Raspberry Pi NVMe SSD
- Raspberry Pi 5 Active Cooler
- Raspberry Pi 45W USB-C Power Supply
- Raspberry Pi Micro-HDMI to Standard HDMI (A/M), 1m cable
- Raspberry Pi Bumper
Server:
- Raspberry Pi 5, 8Gb
- Radxa Penta SATA HAT
- Radxa SATA HAT Top Board
- 4 @ Samsung 870 EVO SATA III Internal SSD 1TB 2.5”
- Kingston Industrial 16GB microSDHC
- Raspberry Pi 5 Active Cooler
- Raspberry Pi 45W USB-C Power Supply
Both setups use a Raspberry Pi 5. Much of the guide might be suitable for Pi 4 or some earlier versions. Both setups use the PCIe interface: one for a boot drive, the other for RAID storage. When the OS is on a microSD card, and you plan to do anything serious with the machine, it’s a good idea to swing for an industrial-grade card. That’s why we used the expensive one for the server, since it will boot from microSD. We used the beefier power supplies; you can go with the slightly cheaper ones that are up to spec. We opted for active cooling (review: they’re a bit noisy). And, yes, we got an HDMI cable so we could hook it up to a monitor if needed for any reason.
To suggest an edit or correction to this page, please click the "Edit this page" button below or at the top to access the source file on GitHub.