
Setting up a Raspberry Pi to boot from PCIe
Enable PCIe
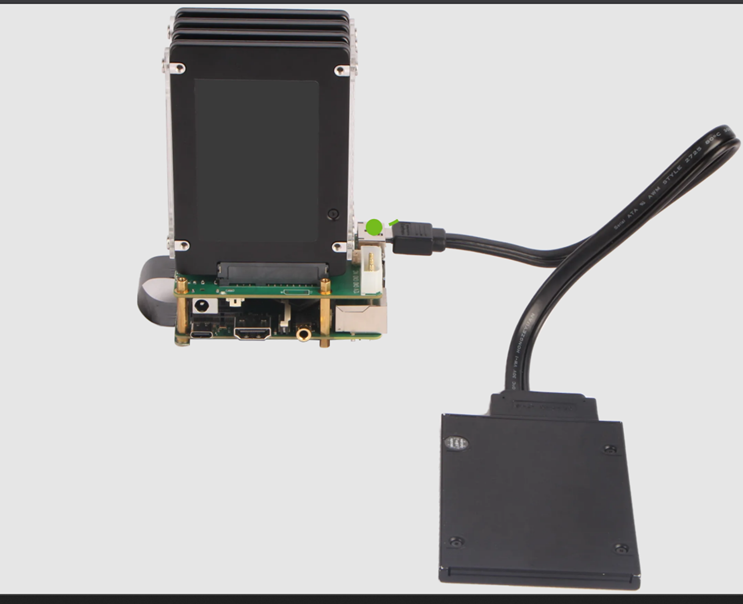
If using the official Raspberry Pi PCIe-to-M.2 Hat+, it should be automatically detected.
For other PCIe Hats, enable PCIe by editing
/boot/firmware/config.txt
by adding
dtparam=pciex1
to the end of the file (should be under section [all]).
Save and reboot.
Put OS on NVMe – GUI
Run
$ lsblk
to see if the drive is detected; if not enable PCIe as per above.
If connected to a monitor, you can copy the OS image from the micro SD card to the NVMe using either the “SD Card Copier” software or the Raspberry Pi Imager, both of which are packaged with the OS.
To use the SD Card Copier:
>> Raspberry Pi icon
>> Accessories
>> SD Card Copier
>> select the two appropriate disks
>> click Start
Put OS on NVMe – CLI
To install a bootable OS image to an NVMe drive, first get an OS image file from downloads.raspberrypi.com:
$ wget https://downloads.raspberrypi.com/raspios_arm64/images/raspios_arm64-2025-05-13/2025-05-13-raspios-bookworm-arm64.img.xz
and update the machine’s software/firmware by running the following commands:
$ sudo apt update && sudo apt full-upgrade
$ sudo reboot
$ sudo rpi-update
$ sudo reboot
$ sudo rpi-eeprom-update
Note that rpi-update updates the firmware and kernel; if it causes problems, it can be reverted using:
$ sudo apt update
$ sudo apt install --reinstall raspi-firmware
This is a “go back” saftey feature built in by the Raspberry Pi developers.
Note that rpi-eeprom-update updates the bootloader firmware; if you receive an eeprom error, it can be reverted by running:
$ sudo raspi-config
and making the configuration:
>> Advanced Options
>> Bootloader Version
>> select latest
and reboot.
Next, get the firstboot.sh file that we saved in the section Initialize to the Raspberry Pi using:
$ scp /path/on/other/machine/firstboot.sh /path/on/RPi/firstboot.sh
In the directory where you just put this file, run
$ ls -l
to check that the file has executable permission; if not, run
$ chmod +x firstboot.sh
Finally, we use the Raspberry Pi Imager from the command line to install the OS on the NVMe drive:
$ sudo rpi-imager --cli --first-run-script ./firstboot.sh 2025-05-13-raspios-bookworm-arm64.img.xz /dev/nvme0n1
You should now be able to boot the Raspberry Pi from the NVMe.
You can always run
$ df /boot -h
to see what is the boot drive.
Run
$ sudo shutdown -h now
to turn off the Raspberry Pi.
Remove the power cord.
Remove the micro SD card
Reboot.
Set boot priority
The Raspberry Pi’s default boot order will boot from a bootable NVMe drive if no other drive is found. But it will probably boot quicker after setting the boot order as follows:
$ sudo raspi-config
>> Advanced Options
>> Boot Order
>> B2 NVMe/USB Boot from NVMe before trying ...
Reboot.
To suggest an edit or correction to this page, please click the "Edit this page" button below or at the top to access the source file on GitHub.