
Django for the absolute beginner
from install to a basic web app

Django is a powerful, python-based web framework used by some of the biggest, most well-known websites on the internet. Many top companies seek people skilled in Django.
Quick note about web frameworks versus web servers. A web server is software that listens for incoming HTTP requests on a network port and responds to them, for example, apache and nginx. A web framework provides a structured set of tools to simplify the development of web applications; they handle tasks like URL routing, HTTP header parsing, session management, and database interaction, which allows developers to focus on their website’s content rather than low-level details. Django is designed to be web server agnostic, meaning it can run on various web servers through standardized protocols.
Django uses the MVT design pattern:
- Model: an SQL table defining a dynamic object
- View: a function of a request that returns HTML
- Template: HTML to be returned
Here’s a course description of how Django works:
- The web server sends a request to Django
- Django matches the URL to a view
- The view is called as a function of the request and possibly other inputs, and returns HTML
When We first went through the tutorial on Django’s site as absolute beginners we liked it, but thought it could have been streamlined a bit, and we also thought some parts were confusing and unnecessary for an absolute beginner. Here we attempt to provide a succinct but thorough tutorial based on theirs.
If you still need more details, please, by all means go check out the Django tutorial at https://docs.djangoproject.com/en/5.2/intro/, it’s actually very awesome despite what we just said :-).
Installation
Requirements: python & pip. Highly suggested: venv virtual environment.
$ python --version
$ pip --version
$ cd /any/dir
$ python -m venv <vname>
vname typically .env but can be anything. Creates this in /any/dir/:
.env
  include
  Lib
  Scripts
  .gitignore
  pyvenv.cfg
Activate the venv:
# Linux
$ source .env/bin/activate

# Windows
$ .env\Scripts\activate.bat

# Git Bash in Windows
$ source .env/Scripts/activate
Means venv is activated:
Linux:
(.env)$

Windows
(.env) any\dir\<username>

# Git Bash in Windows
(.env)
<user>@<host> MINGW64 /c/any/path
Note: for everything below we’re only going to be using Git Bash. We believe all the commands below will also work as-is in Linux, and probably Windows command prompt with little change. However, We haven’t tested that yet, as we’ve only done it in Git Bash and Linux.
If you’d like to contribute by adding commands for Windows, MacOS, or something else, please click one of the Edit buttons at the top and bottom of this page to suggest edits on GitHub.
Install Django:
(.env)$ python -m pip install Django
Check with $ python -m django --version.
Start a project
Start a project in the environment started above:
mkdir project_name
(.env)$ django-admin startproject mysite project_name
Creates
project_name/
    manage.py
    mysite/
        __init__.py
        settings.py
        urls.py
        asgi.py
        wsgi.py
Run the development server:
cd project_name
$ python manage.py runserver
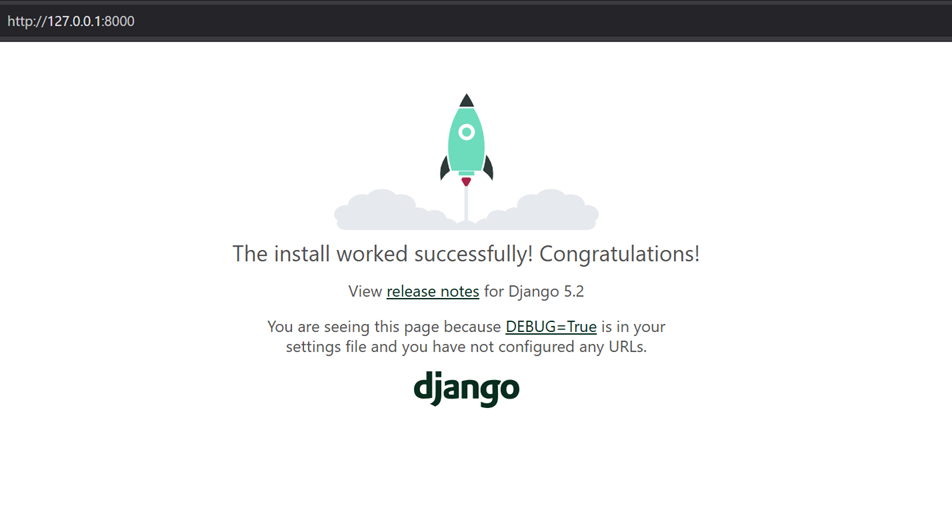
Go to http://127.0.0.1:8000/ to see Django’s welcome page.
Create an app
For the absolute beginner, we’re going with the copy/paste approach. Warning: there is a lot of copy/pasting below, but it won’t take long. Here’s an overview of what we’re about to do in this section:
- Run
python manage.py startapp app_nameto create a bare app - Put code in files created in the bare app by Django and create some files:
mysite/urls.pysettings.py
app_name/views.pyurls.pymodels.pyadmin.py
- Under a “templates” directory
index.htmldetail.htmlresults.html
- Do something called “migrate”
In this section we only create the website and app. Below, we’ll explain all the details.
$ python manage.py startapp app_name
Creates
app_name/
    __init__.py
    admin.py
    apps.py
    migrations/
        __init__.py
    models.py
    tests.py
    views.py
Make the entire contents of mysite/urls.py:
"""
URL configuration for mystie project.

The `urlpatterns` list routes URLs to views. For more information please see:
    https://docs.djangoproject.com/en/5.2/topics/http/urls/
Examples:
Function views
    1. Add an import:  from my_app import views
    2. Add a URL to urlpatterns:  path('', views.home, name='home')
Class-based views
    1. Add an import:  from other_app.views import Home
    2. Add a URL to urlpatterns:  path('', Home.as_view(), name='home')
Including another URLconf
    1. Import the include() function: from django.urls import include, path
    2. Add a URL to urlpatterns:  path('blog/', include('blog.urls'))
"""
from django.views import debug
from django.contrib import admin
from django.urls import include, path

urlpatterns = [
    path('', debug.default_urlconf), #forces the Django welcome screen to remain available
    path("calc01/", include("calc01.urls")),
    path('admin/', admin.site.urls),
]
Open mysite/settings.py and set the time zone, e.g.:
TIME_ZONE = 'America/New_York'
Also in mysite/settings.py add the line "app_name.apps.App_nameConfig" under INSTALLED_APPS, i.e.:
INSTALLED_APPS = [
    "app_name.apps.App_nameConfig",
    'django.contrib.admin',
    'django.contrib.auth',
    'django.contrib.contenttypes',
    'django.contrib.sessions',
    'django.contrib.messages',
    'django.contrib.staticfiles',
]
Make the entire contents of app_name/views.py:
from django.db.models import F
from django.http import HttpResponseRedirect
from django.shortcuts import get_object_or_404, render
from django.urls import reverse
from django.views import generic
from django.utils import timezone

from .models import Choice, Question


class IndexView(generic.ListView):
    template_name = "app_name/index.html"
    context_object_name = "latest_question_list"
    def get_queryset(self):
        return Question.objects.filter(pub_date__lte=timezone.now()).order_by("-pub_date")[:5]

class DetailView(generic.DetailView):
    model = Question
    template_name = "app_name/detail.html"
    def get_queryset(self):
        return Question.objects.filter(pub_date__lte=timezone.now())

class ResultsView(generic.DetailView):
    model = Question
    template_name = "app_name/results.html"


def vote(request, question_id):
    question = get_object_or_404(Question, pk=question_id)
    try:
        selected_choice = question.choice_set.get(pk=request.POST["choice"])
    except (KeyError, Choice.DoesNotExist):
        # Redisplay the question voting form.
        return render(
            request,
            "app_name/detail.html",
            {
                "question": question,
                "error_message": "You didn't select a choice.",
            },
        )
    else:
        selected_choice.votes = F("votes") + 1
        selected_choice.save()
        # Always return an HttpResponseRedirect after successfully dealing
        # with POST data. This prevents data from being posted twice if a
        # user hits the Back button.
        return HttpResponseRedirect(reverse("app_name:results", args=(question.id,)))
Make a file app_name/urls.py and make its contents:
from django.urls import path

from . import views

app_name = "app_name"
urlpatterns = [
    path("", views.IndexView.as_view(), name="index"),
    path("<int:pk>/", views.DetailView.as_view(), name="detail"),
    path("<int:pk>/results/", views.ResultsView.as_view(), name="results"),
    path("<int:question_id>/vote/", views.vote, name="vote"),
]
Make the entire contents of app_name/models.py:
import datetime
from django.db import models
from django.utils import timezone

class Question(models.Model):
    question_text = models.CharField(max_length=200)
    pub_date = models.DateTimeField("date published")
    def __str__(self):
        return self.question_text
    def was_published_recently(self):
        now = timezone.now()
        return now - datetime.timedelta(days=1) <= self.pub_date <= now

class Choice(models.Model):
    question = models.ForeignKey(Question, on_delete=models.CASCADE)
    choice_text = models.CharField(max_length=200)
    votes = models.IntegerField(default=0)
    def __str__(self):
        return self.choice_text
Make the entire contents of app_name/admin.py:
from django.contrib import admin

from .models import Question

admin.site.register(Question)
Make the directory app_name/templates/app_name/ and add the following three files:
index.html
{% load static %}

<link rel="stylesheet" href="{% static 'app_name/style.css' %}">

{% if latest_question_list %}
    <ul>
    {% for question in latest_question_list %}
        <li><a href="{% url 'app_name:detail' question.id %}">{{ question.question_text }}</a></li>
    {% endfor %}
    </ul>
{% else %}
    <p>No polls are available.</p>
{% endif %}
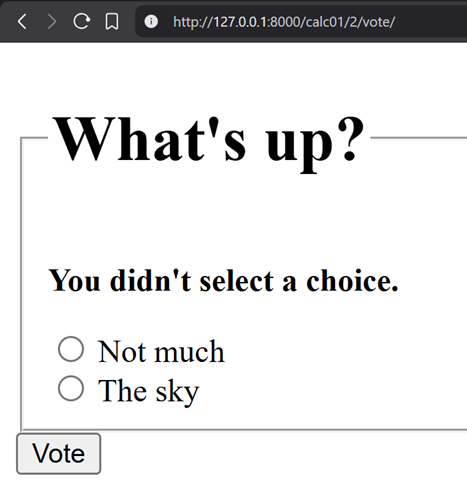
detail.html
<form action="{% url 'app_name:vote' question.id %}" method="post">
{% csrf_token %}
<fieldset>
    <legend><h1>{{ question.question_text }}</h1></legend>
    {% if error_message %}<p><strong>{{ error_message }}</strong></p>{% endif %}
    {% for choice in question.choice_set.all %}
        <input type="radio" name="choice" id="choice{{ forloop.counter }}" value="{{ choice.id }}">
        <label for="choice{{ forloop.counter }}">{{ choice.choice_text }}</label><br>
    {% endfor %}
</fieldset>
<input type="submit" value="Vote">
</form>
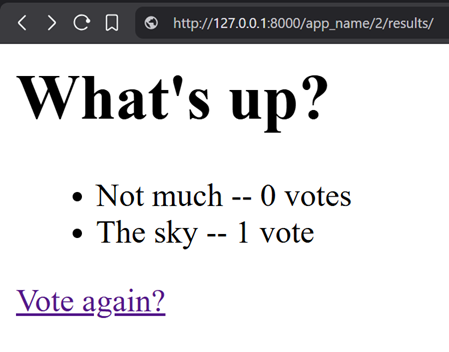
results.html
<h1>{{ question.question_text }}</h1>

<ul>
{% for choice in question.choice_set.all %}
    <li>{{ choice.choice_text }} -- {{ choice.votes }} vote{{ choice.votes|pluralize }}</li>
{% endfor %}
</ul>

<a href="{% url 'app_name:detail' question.id %}">Vote again?</a>
Run:
$ python manage.py migrate
It should give you something like this:
Operations to perform:
  Apply all migrations: admin, auth, contenttypes, sessions
Running migrations:
  Applying contenttypes.0001_initial... OK
  Applying auth.0001_initial... OK
  Applying admin.0001_initial... OK
  Applying admin.0002_logentry_remove_auto_add... OK
  Applying admin.0003_logentry_add_action_flag_choices... OK
  Applying contenttypes.0002_remove_content_type_name... OK
  Applying auth.0002_alter_permission_name_max_length... OK
  Applying auth.0003_alter_user_email_max_length... OK
  Applying auth.0004_alter_user_username_opts... OK
  Applying auth.0005_alter_user_last_login_null... OK
  Applying auth.0006_require_contenttypes_0002... OK
  Applying auth.0007_alter_validators_add_error_messages... OK
  Applying auth.0008_alter_user_username_max_length... OK
  Applying auth.0009_alter_user_last_name_max_length... OK
  Applying auth.0010_alter_group_name_max_length... OK
  Applying auth.0011_update_proxy_permissions... OK
  Applying auth.0012_alter_user_first_name_max_length... OK
  Applying sessions.0001_initial... OK
Run:
$ python manage.py makemigrations app_name
Should give something like:
Migrations for 'app_name':
  app_name\migrations\0001_initial.py
    + Create model Question
    + Create model Choice
Run:
$ python manage.py sqlmigrate app_name 0001
Should give something like:
$ python manage.py sqlmigrate app_name 0001
BEGIN;
--
-- Create model Question
--
CREATE TABLE "app_name_question" ("id" integer NOT NULL PRIMARY KEY AUTOINCREMENT, "question_text" varchar(200) NOT NULL, "pub_date" datetime NOT NULL);
--
-- Create model Choice
--
CREATE TABLE "app_name_choice" ("id" integer NOT NULL PRIMARY KEY AUTOINCREMENT, "choice_text" varchar(200) NOT NULL, "votes" integer NOT NULL, "question_id" bigint NOT NULL REFERENCES "app_name_question" ("id") DEFERRABLE INITIALLY DEFERRED);
CREATE INDEX "app_name_choice_question_id_e15ab5ab" ON "app_name_choice" ("question_id");
COMMIT;
Run again:
python manage.py migrate
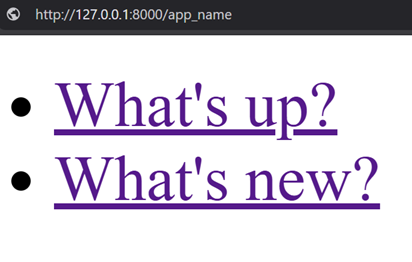
Go to http://127.0.0.1:8000/ and http://127.0.0.1:8000/app_name. Congratulations! You’ve now created a website with an app using Django.
But it doesn’t do anything right now, the home page is Django’s default welcome page to let you know the installation worked, and your app only plainly has the line “No polls are available.”.
Before diving in to what we did in this section, let’s first create an admin user and login to Django’s awesome built-in admin application to add some questions to the poll.
Add admin user
Create an admin user:
$ python manage.py createsuperuser
Username (leave blank to use '<user>'): admin
Email address:
Password:
Password (again):
Superuser created successfully.
For Username enter admin. For Email address: hit Enter to leave blank. Enter a password twice.
Give your app some data
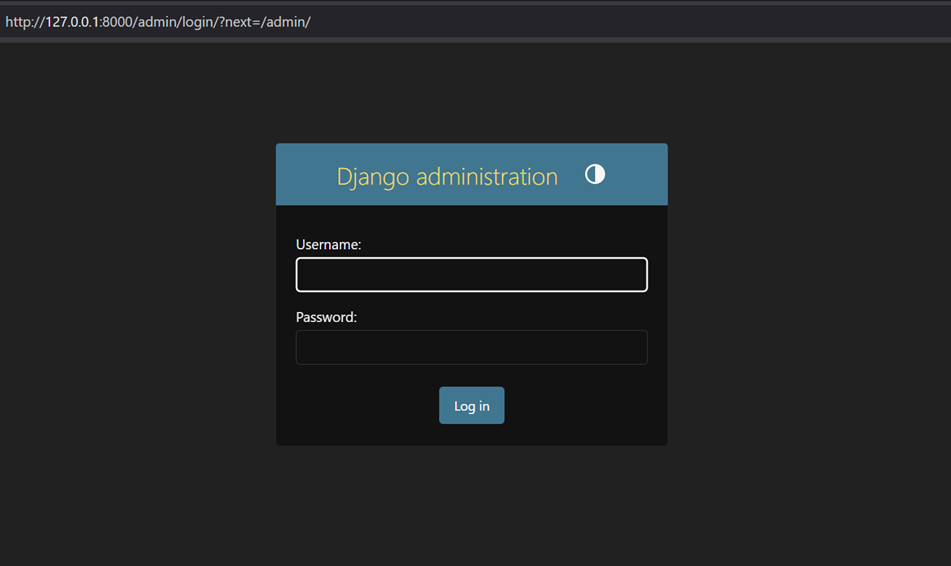
Go to http://127.0.0.1:8000/admin, enter the username admin and password you just gave above.
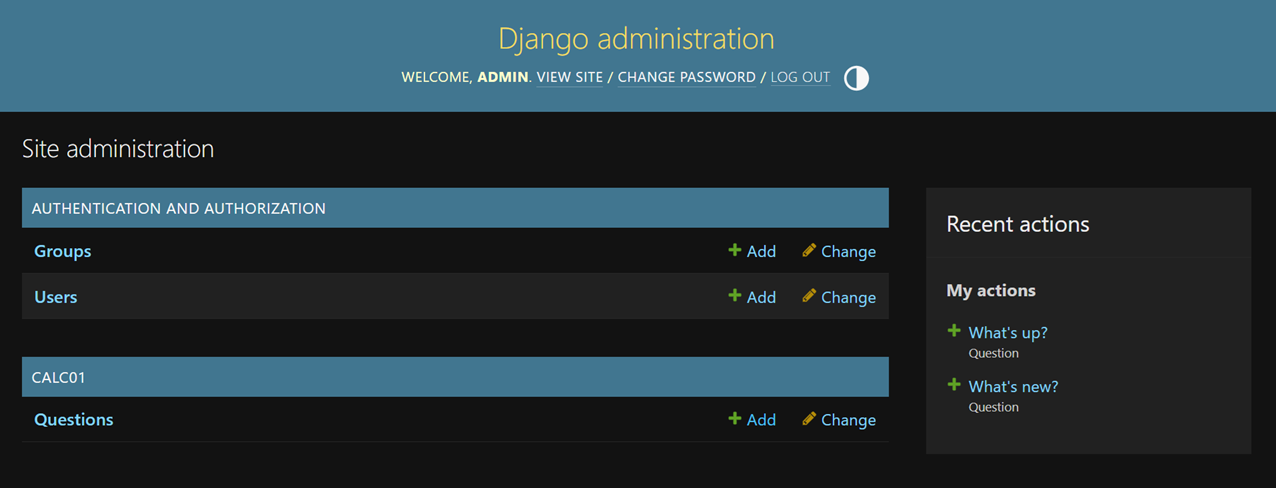
Click + Add next to Questions.
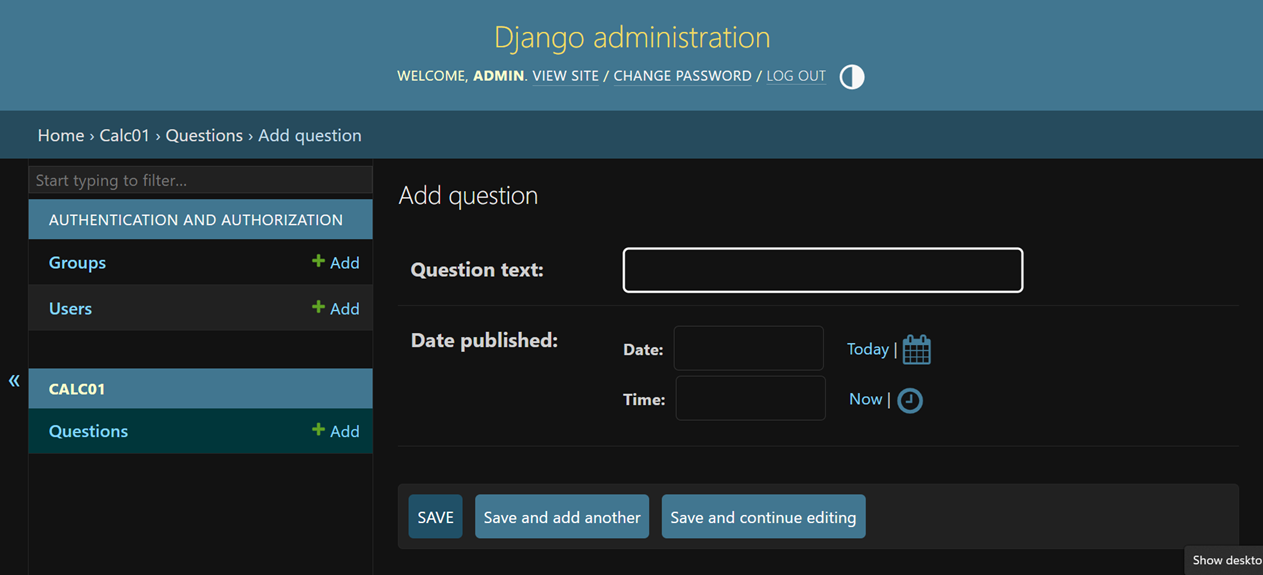
In the text box next to Question text: write What's new?. Beside Date: click Today, and beside Time: click Now. Click Save and add another. Repeat this process for the question What's up?, except click Save at the end.
Now go to http://127.0.0.1:8000/app_name/ and you should see a list with both questions.
Now run the following to add answers to the questions:
$ python manage.py shell

In [1]: q = Question.objects.get(pk=1)

In [2]: q.choice_set.create(choice_text="Nuthin much", votes=0)
Out[2]: <Choice: Nuthin much>

In [3]: q.choice_set.create(choice_text="Nada", votes=0)
Out[3]: <Choice: Nada>

In [4]: q = Question.objects.get(pk=2)

In [5]: q.choice_set.create(choice_text="Not much", votes=0)
Out[5]: <Choice: Not much>

In [6]: q.choice_set.create(choice_text="The sky", votes=0)
Out[6]: <Choice: The sky>

In [7]: exit
Now go to http://127.0.0.1:8000/app_name/, click one of the questions, select an answer, click vote, and see that the vote count has been updated.
Also, go back to the question list, click one of the questions and click vote without selecting an answer; you should see the error message “You didn’t select a choice.” that was hard-coded in, above.
Now that was fun, wasn’t it! Again, for more details – in fact for the authoritative version – please visit https://docs.djangoproject.com/en/5.2/intro/. (We have no affiliation with the Django Project, we just think they’re awesome, and, as always, consult the official docs)
If you found this content useful, please consider supporting this and future work like it by giving us a star on GitHub and buying us a coffee.
To suggest an edit or correction to this page, please click the "Edit this page" button below or at the top to access the source file on GitHub.